From Drab to Fab: The Beginner’s Guide to High-Impact DIY Interior Design
Turning a drab room into a fabulous one doesn’t require a designer’s budget or a contractor’s toolbox. With a weekend, a plan, and a handful of affordable materials, you can transform how a space looks and functions. This beginner’s guide is about building confidence and momentum: choosing simple **DIY projects** that deliver outsized impact.
Think of it as a friendly blueprint for style on your terms, fueled by creativity, smart choices, and a little sweat equity. The goal is achieving **high-impact DIY interior design** without the high cost or stress.
—
Section 1: Assessing Your Space: Style, Needs, and Budget (Steps 1-4)
1. Anchor Your Vision with a Style Blueprint
Before you pick up a paintbrush, get clear on your style. Gather visual inspiration and create a quick mood board with 10–15 images. Write down three to five adjectives for your ideal space—cozy, minimal, modern, etc.—and let those guide every choice. **For example,** if you’re unsure about color, use what you already wear as a clue.
Finish this step by identifying one to two hero elements (like a rich wall color or natural linen curtains) that can anchor your design and support everything else. This simple vision prevents design decisions from becoming guesswork.
2. Map Pain Points and Traffic Flow
Next, evaluate how the room needs to work for your life. Walk the space at different times of day and list your pain points: awkward furniture layout, not enough task lighting, too much visual clutter. Take measurements—length, width, ceiling height, and major openings—so you can make scale-appropriate choices.
Map pathways and traffic patterns to reveal where furniture is too bulky or poorly placed. If you work from home, create a defined zone with a sound-dampening rug and layered lighting. This functional assessment is crucial for effective **DIY interior design**.
3. Engage the Senses (Light, Sound, Scent)
Don’t forget the senses: lighting, scent, and sound all affect how a room feels. A diffuser, dimmable bulbs, and fabric elements that dampen noise can instantly elevate comfort without major renovation. Consider who uses the room—kids, pets, guests—and choose materials accordingly, like washable slipcovers and low-pile rugs.
If doors steal swing clearance, consider pocket or barn-style sliders; even swapping to narrower or glass-panel doors can free inches and pass more light between rooms.
4. Set a Realistic, Impact-Focused Budget
Set a realistic budget and timeline. Prioritize impact—paint, lighting, and textiles typically deliver the biggest punch for the lowest cost. Separate must-haves (function and comfort) from nice-to-haves (purely decorative accents), and add a 10–15% buffer for surprises.
Save where items can be swapped later (throws, pillows), and invest in elements you’ll use daily (rugs, lighting, seating). Look for value beyond big-box stores: thrift shops and online marketplaces often yield unique fixtures at a fraction of retail. Plan your purchases in order—paint first, then lighting and textiles.
—
Section 2: Simple Weekend Projects to Transform Any Room (Steps 5-8)
5. Use Paint or Peel-and-Stick for a Dramatic Wall Shift
For sheer impact, an accent wall or fresh coat of paint is hard to beat. If you’re nervous about color, try a saturated accent wall behind a bed or sofa. Test two to three swatches on multiple walls and check them in morning and evening light; preparation matters more than perfection.
If you want drama without a full paint job, try **color blocking**: paint the lower two-thirds of a wall and leave the upper section bright to visually raise the ceiling. Peel-and-stick wallpaper is another beginner-friendly win—it’s removable, forgiving, and perfect for renters.
[hostinger-affiliate-table id=”789″]
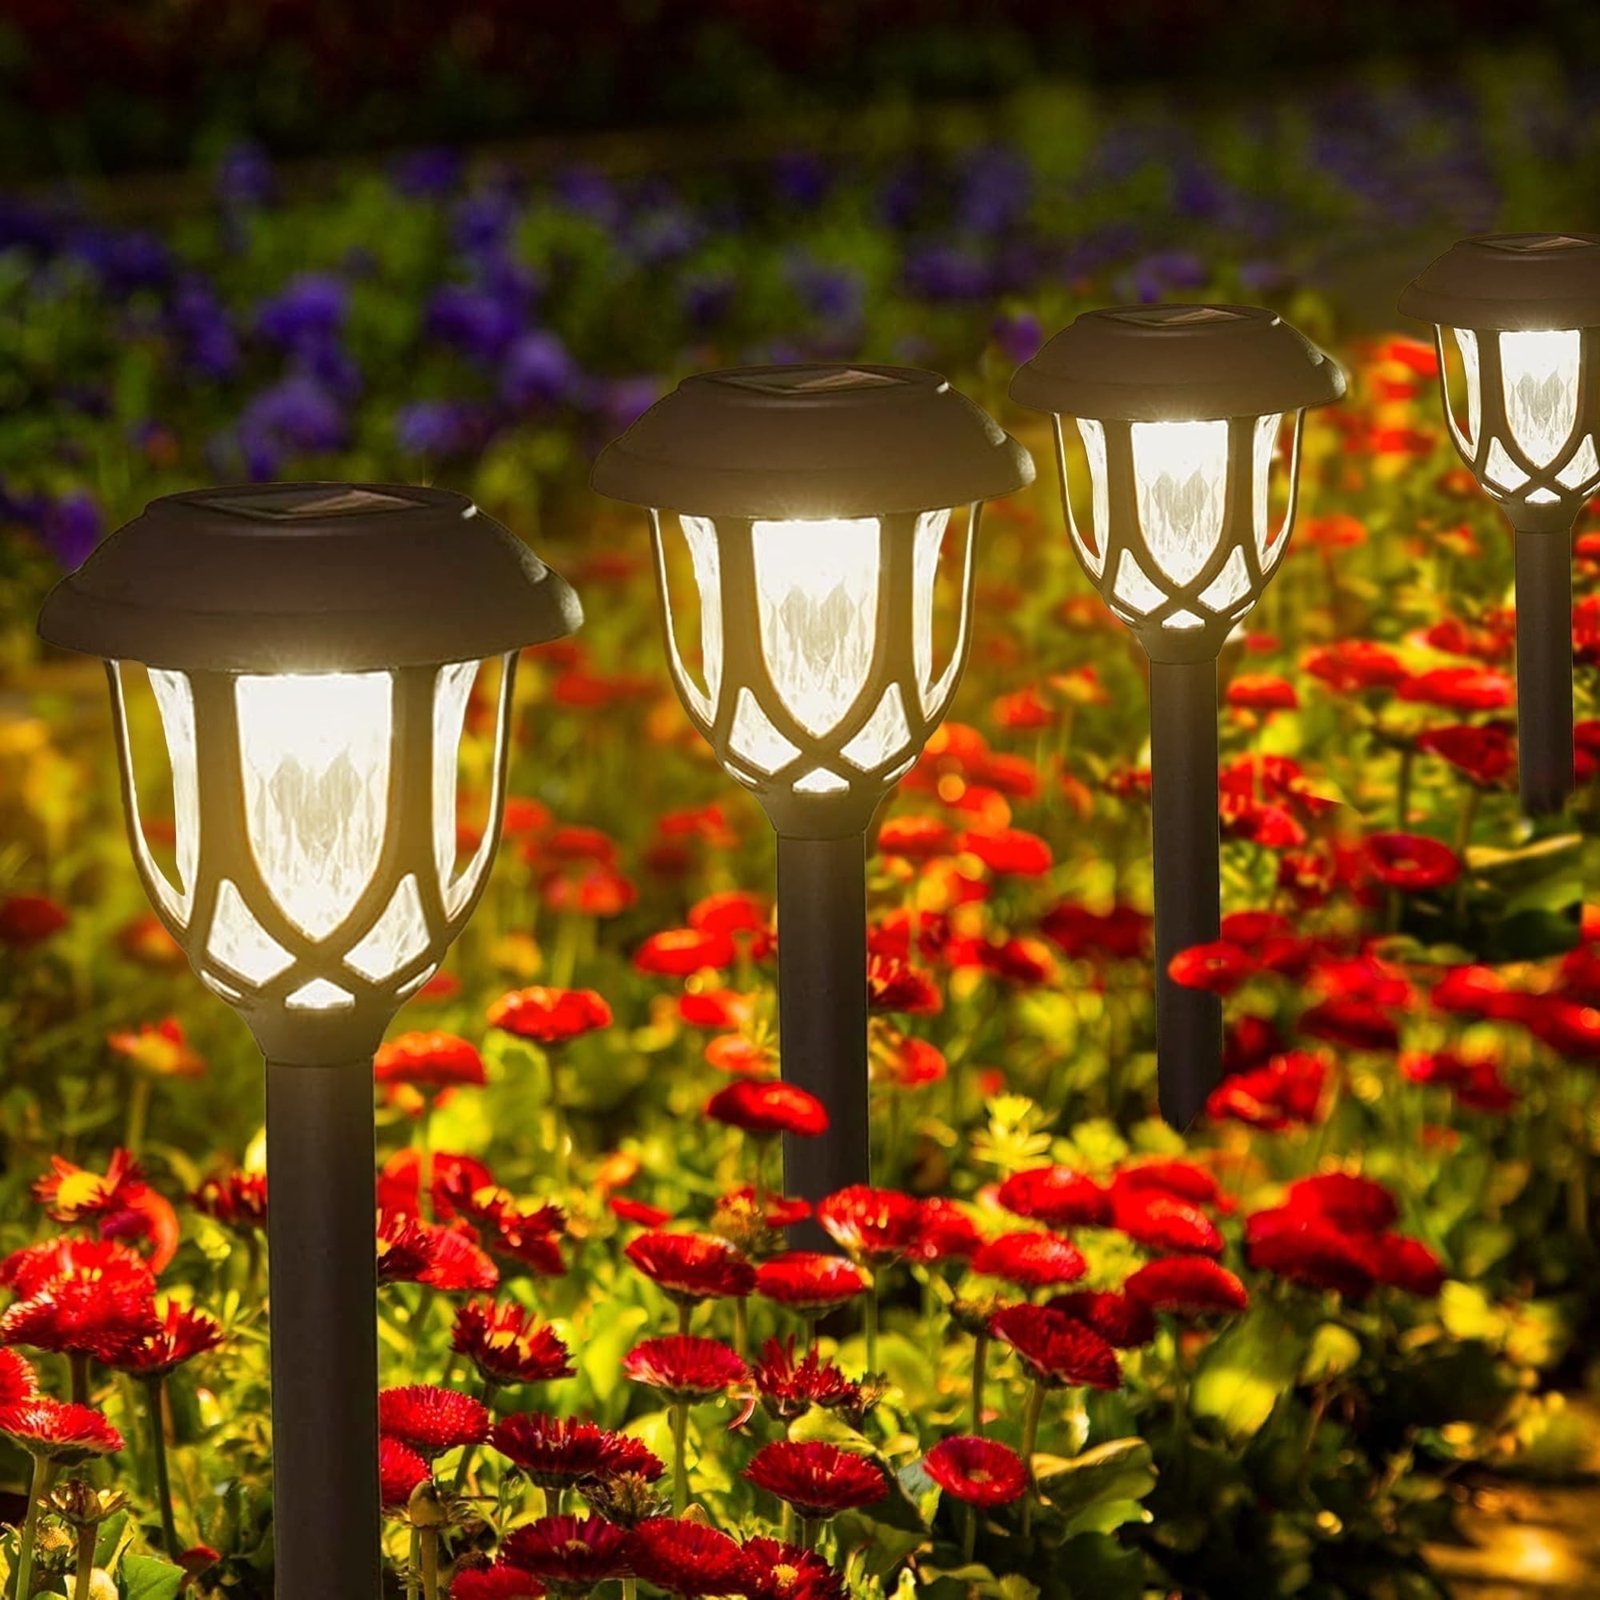
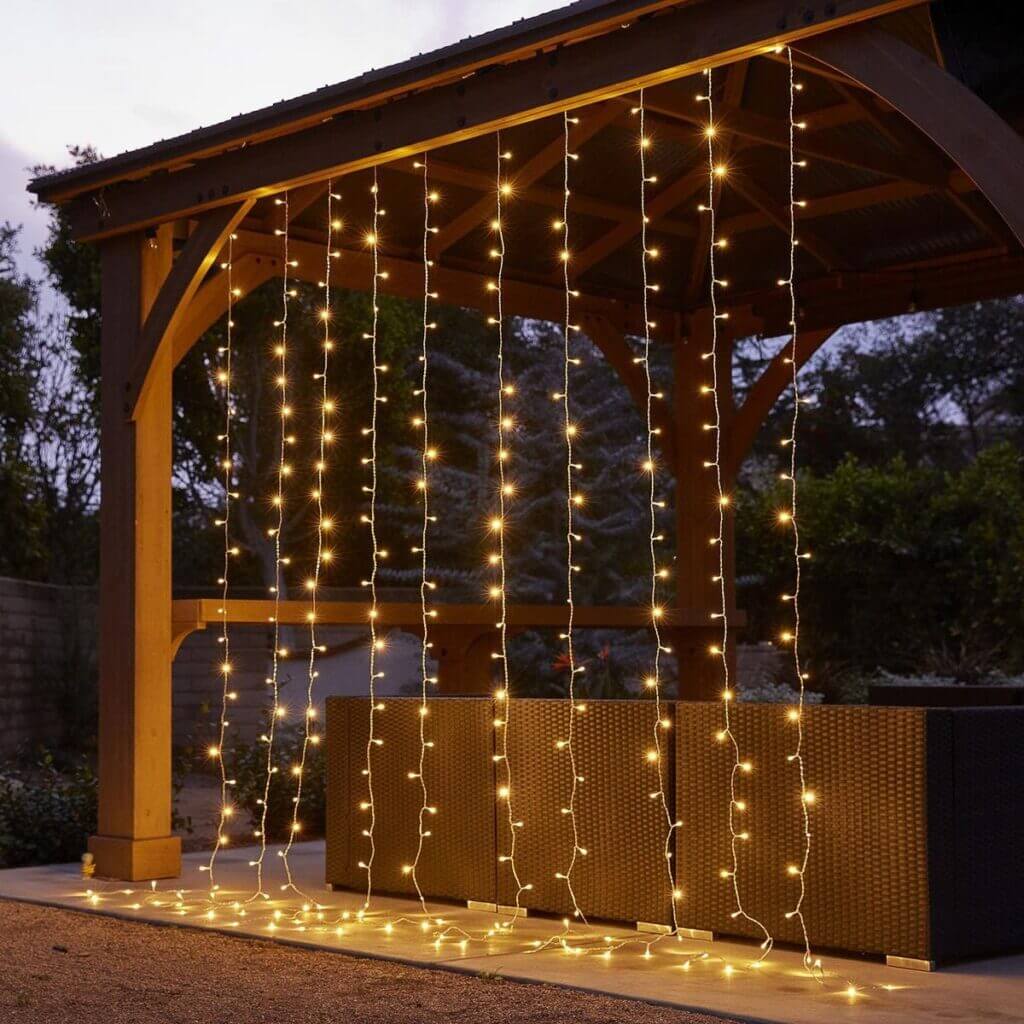
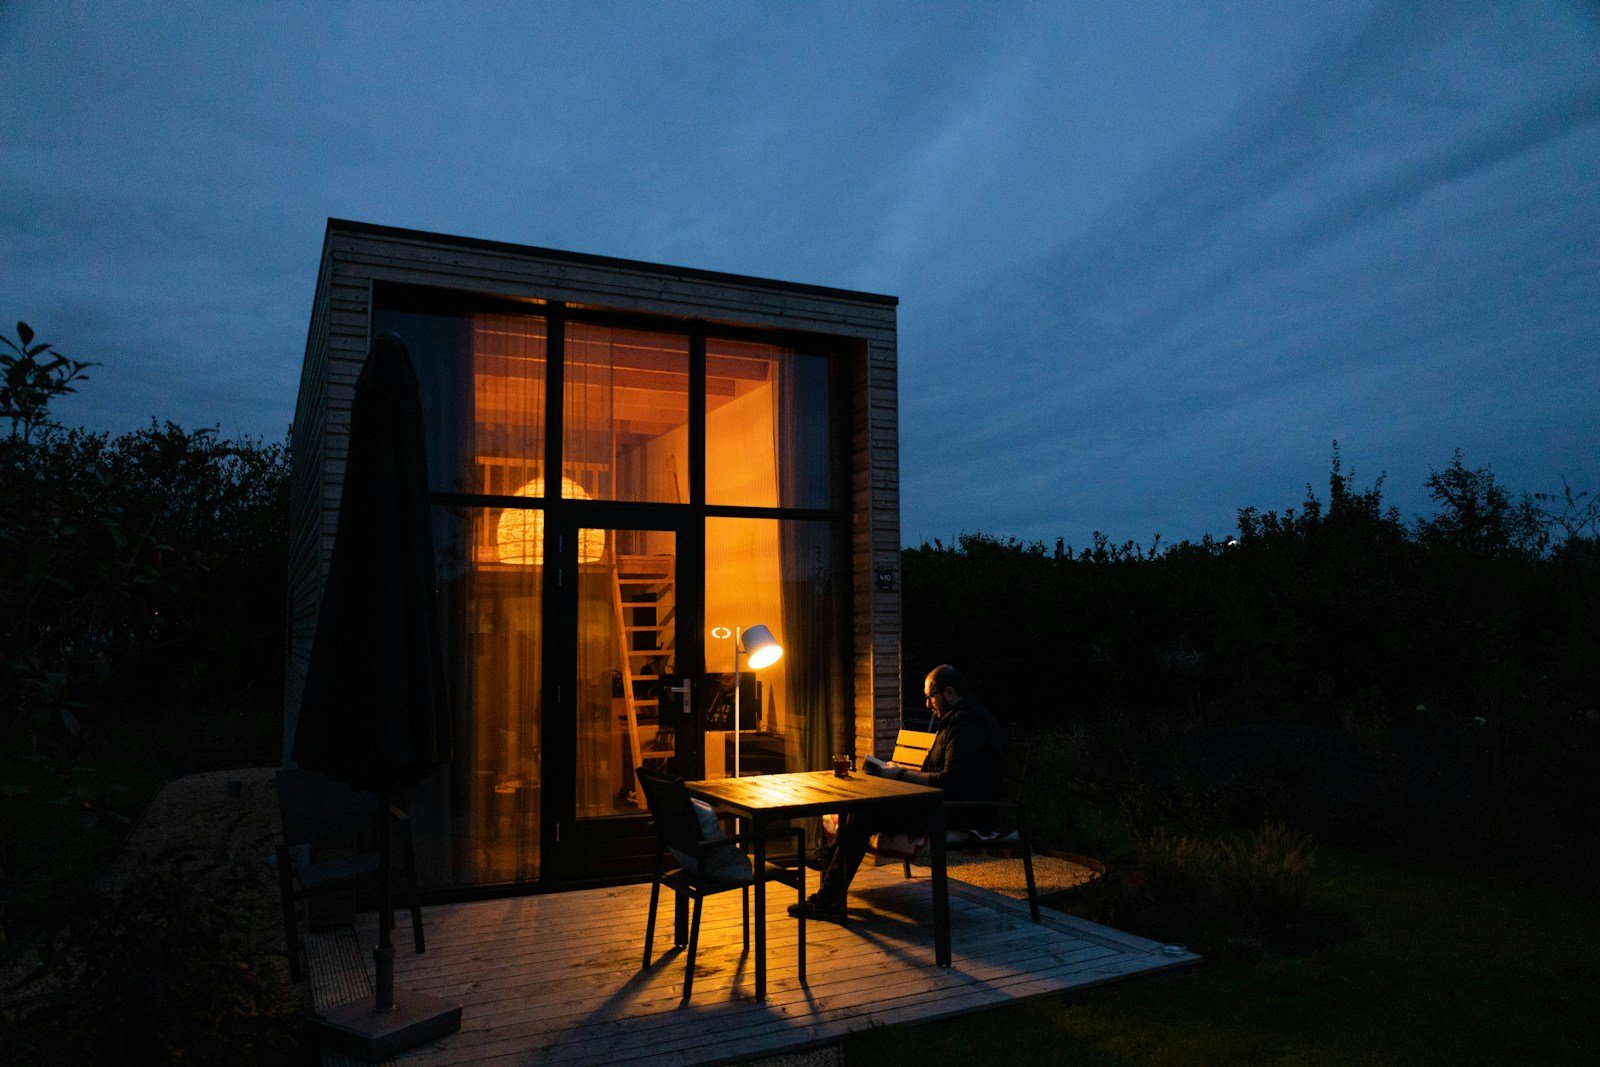
6. Layer Lighting with Plug-Ins and Smart Bulbs
Lighting is your secret styling superpower, and you don’t need to touch hardwired fixtures to transform a room. Swap harsh, cool bulbs for warm, dimmable LEDs in the **2700–3000K range** to instantly soften a space. Layer task and accent lighting with plug-in sconces, table lamps, or battery-powered picture lights; coiled cord concealers keep things tidy.
Stick-on LED strips under shelves or cabinets add an upscale glow for minimal effort. For a fast hardware refresh, replace dated cabinet knobs with modern pulls using a template for consistent drilling; swap builder-grade switch plates for metal or matte finishes for a surprisingly polished detail. This is key to **high-impact DIY interior design**.
7. Use Textiles to Define and Elevate
Hang curtains **high and wide**—mount rods a few inches below the ceiling and extend beyond the window frame to make windows look taller and rooms feel larger. If panels run long, iron-on hemming tape creates a clean finish in minutes.
Ground the room with the right rug—front legs of sofas and chairs should sit on the rug to unify seating areas—and coordinate pillows by mixing textures and patterns in a limited palette. These textile changes are simple yet vital for **DIY projects**.
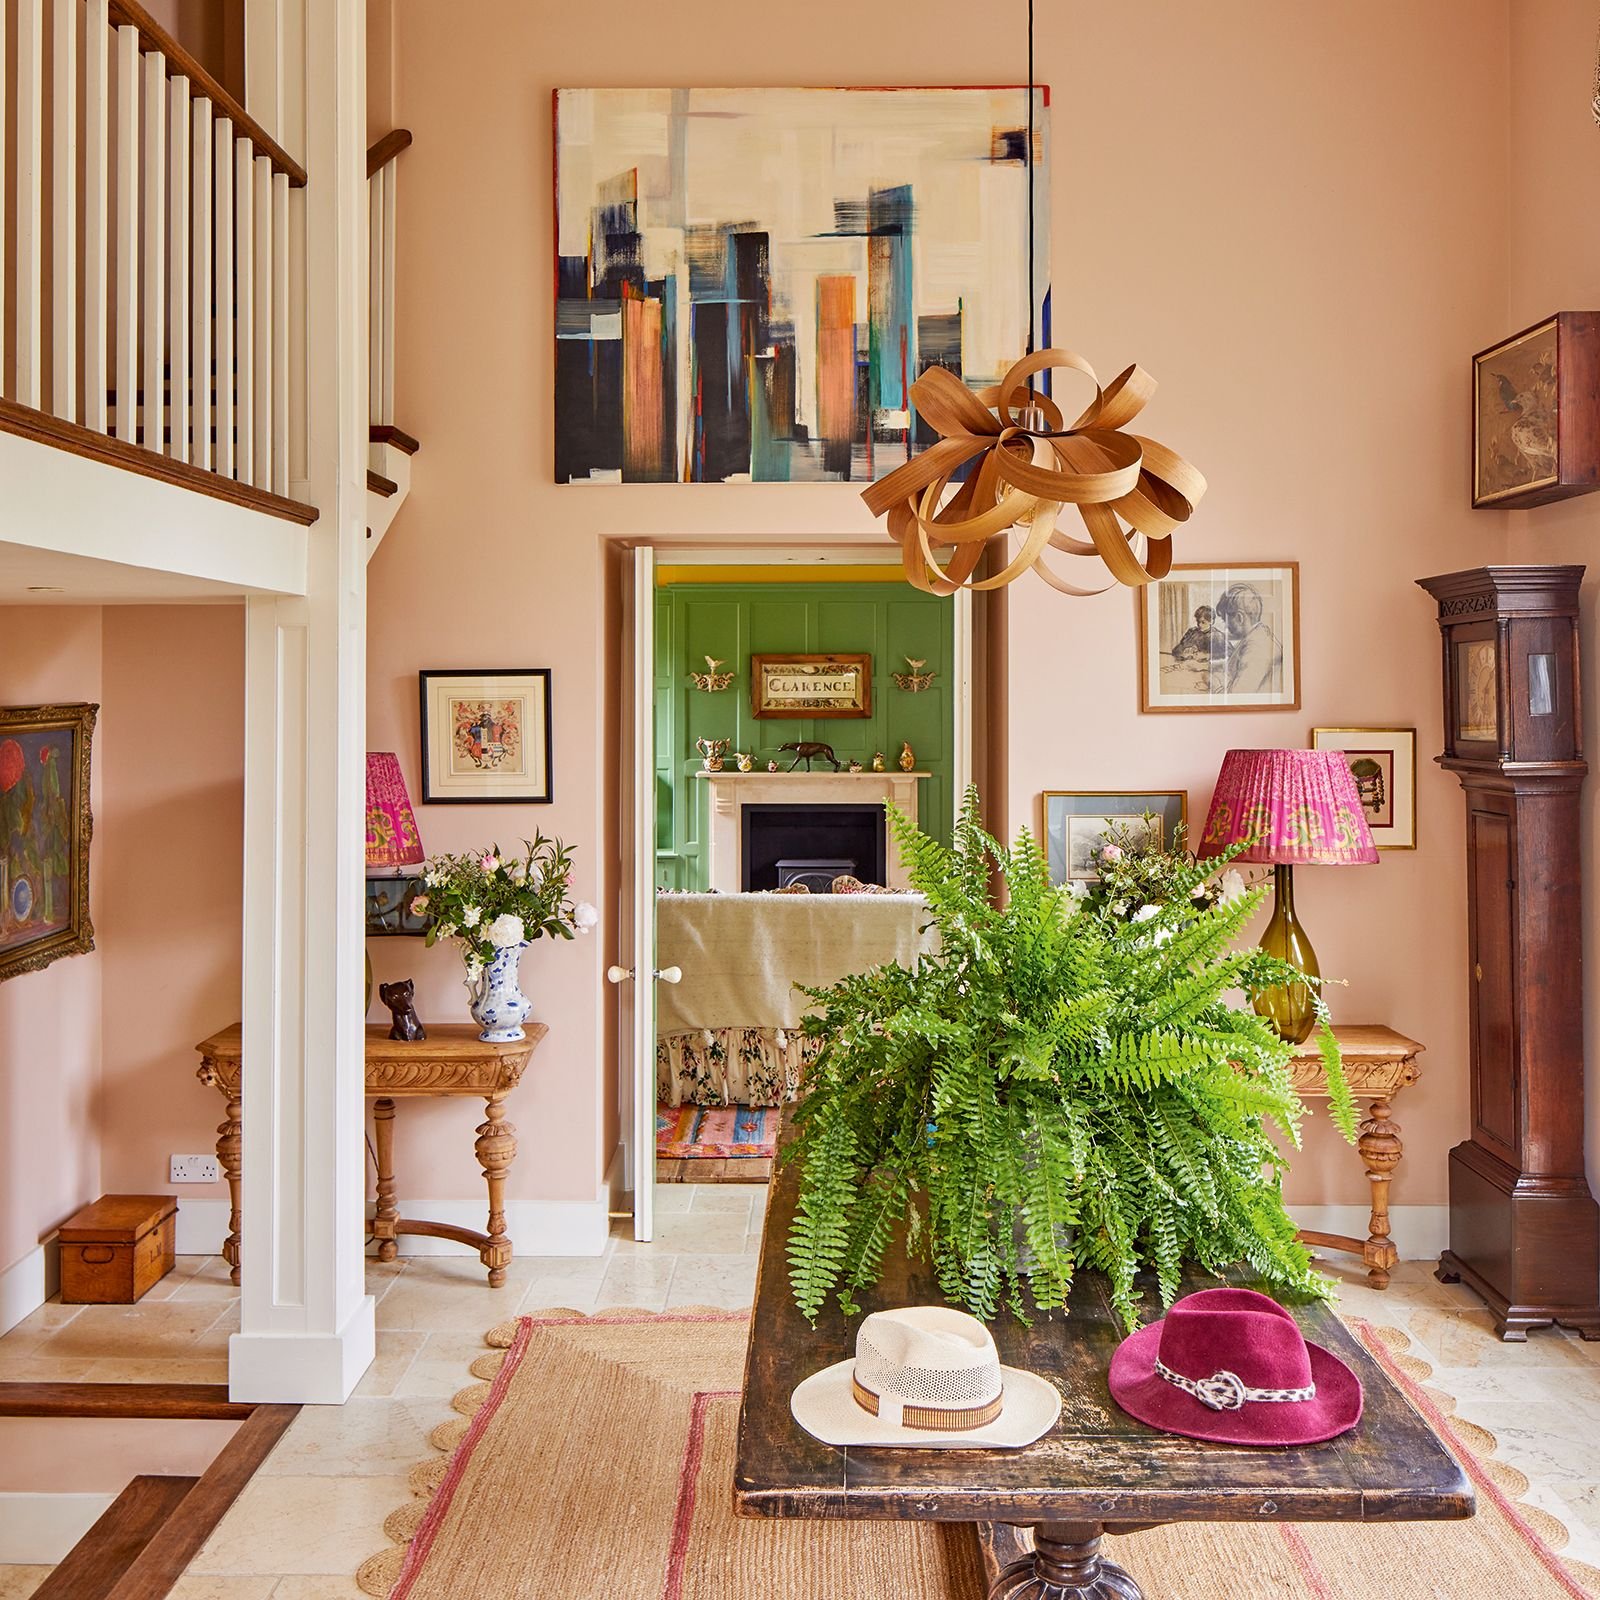
8. Refresh Furniture and Style Surfaces Intentionally
Refresh a tired piece of furniture and you’ll feel like you got new custom decor for the cost of a few supplies. A basic paint makeover is a solid beginner project: remove hardware, lightly sand to scuff, apply a bonding primer, then two thin coats of durable paint. Consider swapping legs on a sofa or cabinet for a more elevated silhouette—many pieces have standard screw-in fittings.
Style your surfaces with intention: group items in odd numbers, vary height and texture, and include plants for life and color. Create a removable gallery wall using frame ledges or adhesive strips—lay it out on the floor first, snap a photo, then transfer to the wall. Finish with sensory layers like a subtle room scent and a soft throw.
—
Conclusion: From Drab to Fab is a Series of Choices
The magic of DIY interior design is less about mastering complex techniques and more about making thoughtful, incremental changes that align with your style, needs, and budget. When you anchor your vision, choose **high-impact DIY projects**, and layer upgrades in a smart order, even small efforts produce big results.
Start with one corner, then one wall, then one room—celebrate the wins, learn from the misses, and keep going. “From drab to fab” isn’t a single reveal; it’s a series of accessible choices that help your home look better, work harder, and feel more like you.
Which high-impact DIY project—painting an accent wall or upgrading lighting—will you tackle this weekend?
One thought on “From Drab to Fab: A Beginner’s Guide to DIY Interior Design Projects”